Pages

Sunday, November 15, 2015

Papier-Mâché Zoo

I've been doing papier-mâché projects across the board this month (October).

Basically I discussed some options with each of my groups and let them choose the project of their liking.
The main difference was the method and structure that was used. One group did witches and wizards for Halloween. Some of them turned them into monsters, aliens, ghosts or something else! These were all based on a cone with a ball of crumpled paper stuck in it, and then several layers of paper. At the end, when it was stiff enough, we covered those with colored tissue paper. (I'm sorry that I didn't take many pictures...)


Another group chose to make a pumpkin. We stuffed a plastic bag with paper, stretched some rubber bands in a criss-cross manner and covered them with several layers of brown and white paper. 

When it was dry, before covering with orange tissue paper and paint, we cut them (well, I did this part...) in the middle so it turned into a box with a lid for serving candies.


One of the groups chose animals. The only rule I imposed, for technical reasons, was that it has to be an animal that walks on 4 legs. Some of them were disappointed that they couldn't do whales or dolphins but I promised them that some other time we can do ocean mammals. It is just easier, when you have a group of 10 kids, to at least start with the same basic structure. 


We all started with a crumpled newspaper for head and body and few toilet paper rolls for legs and neck (If needed) . From there it evolved to mainly elephants (3) pigs (two and a half - one was half pig, half robot...) one giraffe, one hippo and two horses.


Newspaper and toilet paper rolls were bundled with a lot of tape. Then, like in the previous methods, we covered the skeleton with 2-3 layers of brown paper. After three lessons we were ready for painting. Finally I sprayed the beasts with varnish and set them free...


Sunday, October 18, 2015

When Kandinsky Meets Calder


I like to introduce Kandinsky to the kids in the beginning of the year. I show them how, despite the fact that he started very figuratively and later moved on to a complete abstract, he spent some time in between the two simply exploring the relationship between colors.


Painting circles within circles and by doing so practicing mixing colors is found to be very relaxing yet a fun project to do. While coloring the circles we converse about which colors will look vibrant next to each other and which will kind of disappear or not pop out. We used acrylic colors and oil pastels on top. As always, I show images of the artist, I show my example (and then I take it away) and to the question "Do we have to draw circles?" I answer "You can do whatever you want, it doesn't need to be circles at all," and some kids chose to do other designs to explore color relationships. I'm totally all for it.
This year I decided to elaborate on these circles and turn them into mobiles. The idea came to me from a stash of jars' lids I've been collecting for some time. I also remembered that I'm the owner of some wonderful sheets of felts with handsome colors and I thought about putting these two together...


So, this is how we did it: The kids chose 4-6 lids in different sizes. Then they taped a fishing line to each of these lids. They used the lids to trace and cut different sizes of circles out of the felt and used white glue (later on I found that tacky glue works better) to glue them to the lids on both sides.
They also decorated cardboard rings (from a used up masking tape roll- I'm using lots of masking tape in our paper-mache projects) with washi tape and other tape. Lastly, we tied the strings to the ring.


They needed some help with tying. Some of them taped the fishing lines to the ring but I'm afraid it won't be as strong...
It turned out to be a great project as the kids loved making these and were very happy to take them home and hang them on their porch (If tied them in the right length, the lids could swish in the wind, bump into each other, and make a very pleasant sound). While discussing mobiles, it can also be a great opportunity to mention Alexander Calder. And there you have it - When Kandinsky meets Calder!

Sunday, September 20, 2015

Still Life for the New Year


It has been a very long time, probably a few years since I wrote the last blog here. It is September now, or the month of Tishrei by the Jewish calendar, the first month of the year, which also means it is the High Holidays, and the first of them is Rosh Hashanah. A good time to make vows. So I vow ... ok, I don't vow, but I'm merely making a decision to try to write more often. At least once a month...
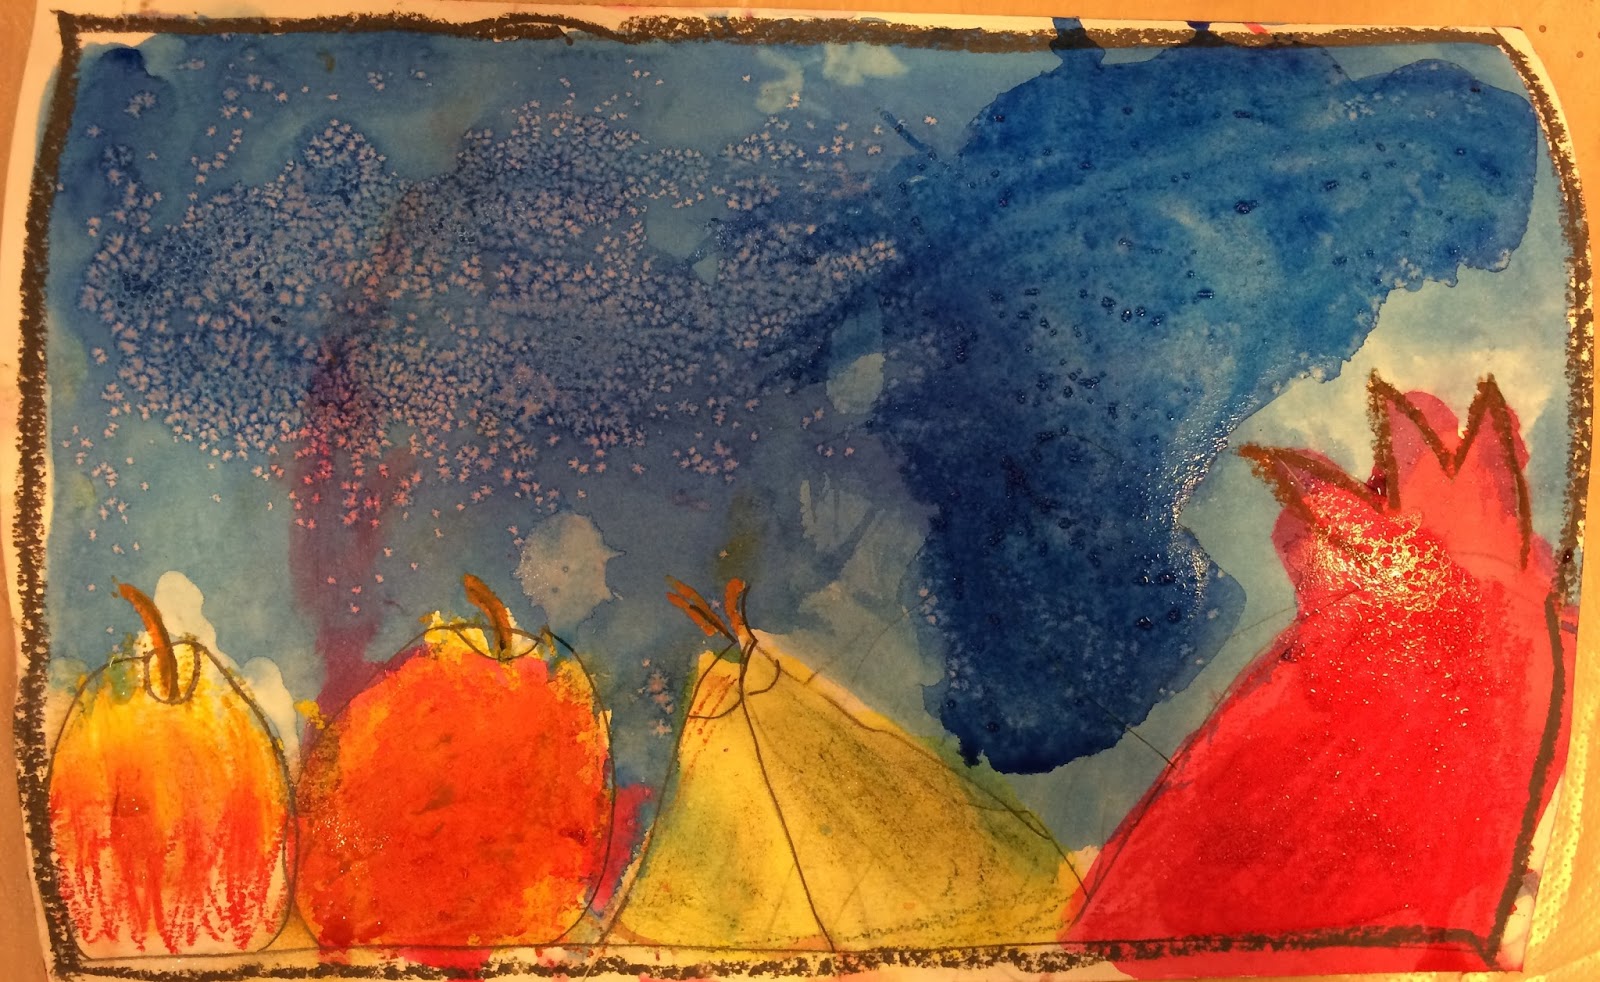
In honor of the Jewish New Year, as every year, I arranged for my students a still life arrangement with apples and pomegranates (it is customary to eat an apple dipped in honey and pomegranates to have a good and sweet year).
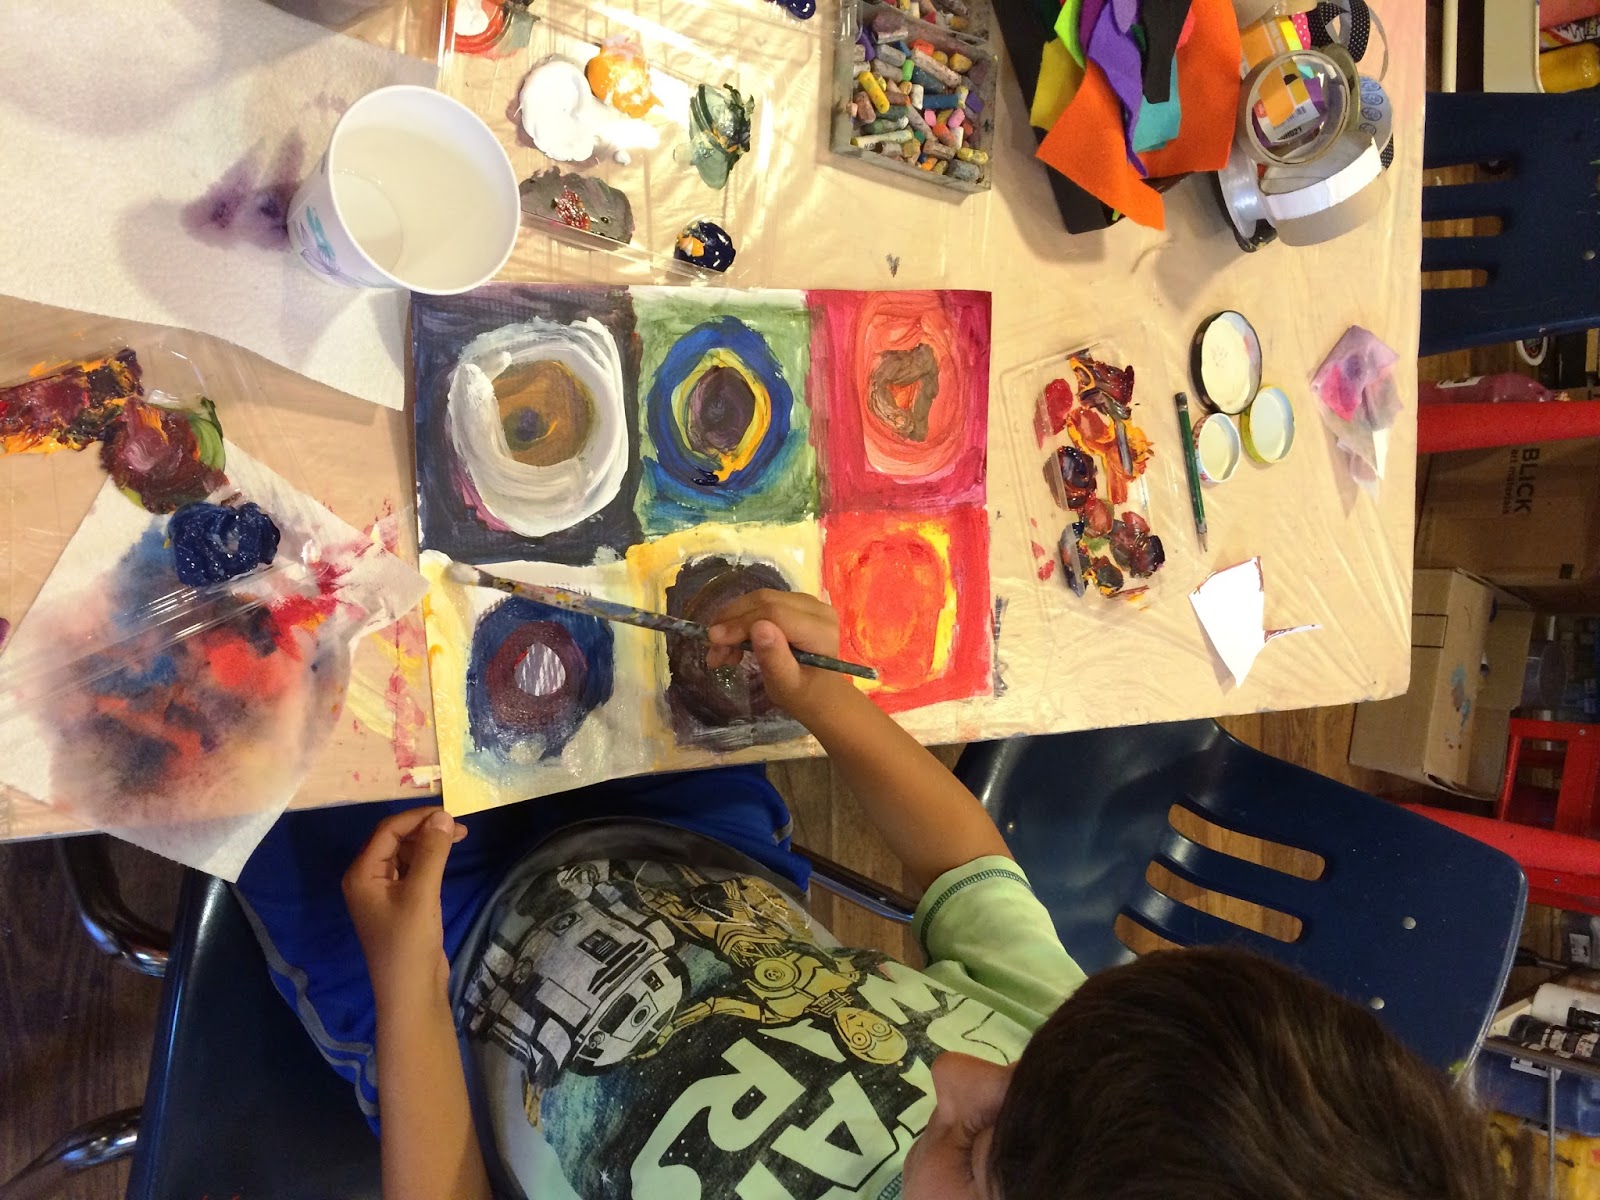
Every year I choose a different technique or a new perspective. I love to start a conversation about what a still life is and about painting from observation. I show them the works of Cézanne and Matisse, for example. This time I chose to emphasize the composition in which the fruits look monumental resulting from seeing the composition through a window - this time I used 35” slides as a viewfinder. The children experienced placing the frame right in front of them and then slowly taking it away from their face. They noticed that when they hold it closer they see more then when they hold it further away. We talked about how the entire fruit may not show, depending on the distance they chose, and it’s ok since our brain will complete the missing parts. We then drew a frame on our watercolor papers and made sure these frames were pretty much the same ratio as their slide’ frames.
Afterwards, we sketched the composition that we chose with pencils. We discussed how it is best to start with the fruit that is closest to you and slowly make your way to those behind it. I showed them how sometimes you see only part of the fruit when it is partially hidden behind another fruit.  
We used oil pastels just to color some of the lines and the texture on the fruits. For example, we added some red and green lines on the apples and red and brown lines on the pomegranates. I also demonstrated how to add a few spots with the white pastel wherever I saw the shine on the fruits. I reminded them how water and oil don’t like each other and that we will use this fact to our benefit.
We then used liquid watercolor, mostly red and yellow, to fill in the shape of the fruits. Expectedly, the watercolors didn’t cover the lines that we made with oil pastels, and the white area showed really well as a reflecting light. If they wished, the kids brushed blue watercolor over the background and they were impressed on how it made their fruits pop out. Some of them sprinkled some salt over the wet watercolor just for the fun of it (and also to add some texture on the pomegranates).
The end results were stunning and the kids were all very impressed with their ability to draw and paint from observation. At the beginning, some of them thought it will be hard and they found out that when you break it into one task at a time, it is not that hard...


Here is the material list:
  • fruits for model
  • watercolor paper (We used 7.5x11)
  • pencils
  • frames for viewfinder
  • oil pastels
  • liquid water colors in red yellow and blue (or just regular pallets watercolors)
  • salt (optional)