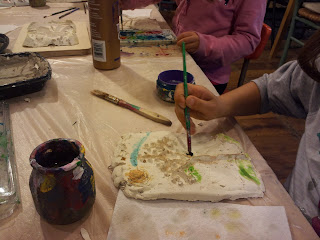
This project is a great opportunity to teach kids about bass relief, positive and negative, curving and casting.
 First, we rolled out clay to a thickness of about an inch and placed the flatten clay in a plastic frozen food tray.
Then, we used pencils to curve lines. We used various tools, like bottle caps, pods and seeds, shells, card boards and others to stamp impressions.
Now the clay is ready to pour the plaster mixture on it.
The week after, we popped out the plaster and piled the clay away (the clay stays moist because of the plaster so you can reuse it), and...Tadaa!
WE noted that the clay cast is a mirror image of the clay impression we made (make sure to tell the kids that if they want to write their names, they must write them in a mirror way).
And now comes the really fun part - PAINTING!


No comments:
Post a Comment