This is an old technique that I can’t remember where I first saw it. I love to do it with the kido
during the fall season when a bunch of leaves with different shapes and colors are all over the place.


The instructions are pretty easy and it is much fun to make.
- Cut white cotton fabric into rectangles. Mine are about 10x16 and are cut from old tablecloths. Tape them to a wooden board or canvas boards.
- Observe the leaves, notice their shapes and the shape of their veins. Use light color pastel or chalk to draw lines in the shape of those leaves on the fabric.
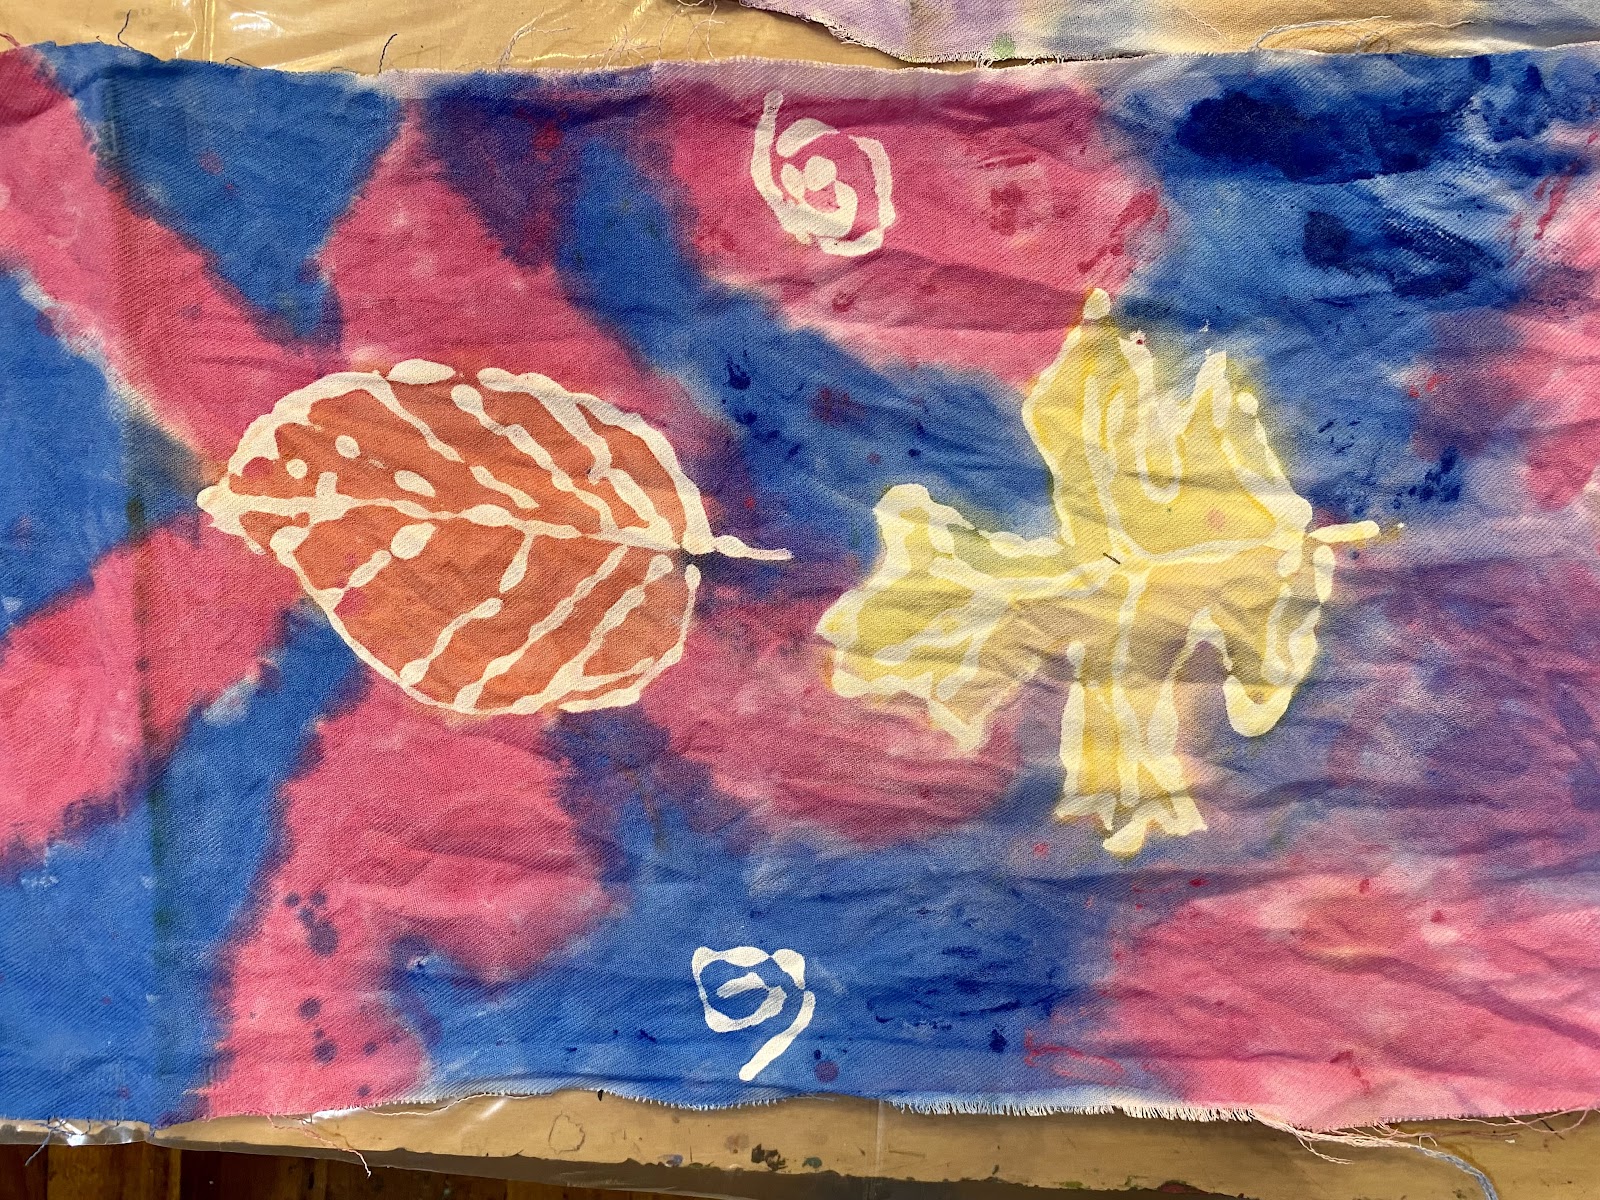
- Use the white glue bottles to trace the chalk lines on your fabric pieces. Instruct the kids to get thin lines by moving their glue bottle fast. Let dry overnight. Sometimes more drying time is needed, depending on the thickness of the glue.
- When the glue is completely dry, paint it with acrylic or fabric colors. The paint should be diluted to a consistency of almost liquid watercolors. So one drop of paint with about half cup of water. I mixed up several different colors in cups, and placed a paintbrush in each of them.


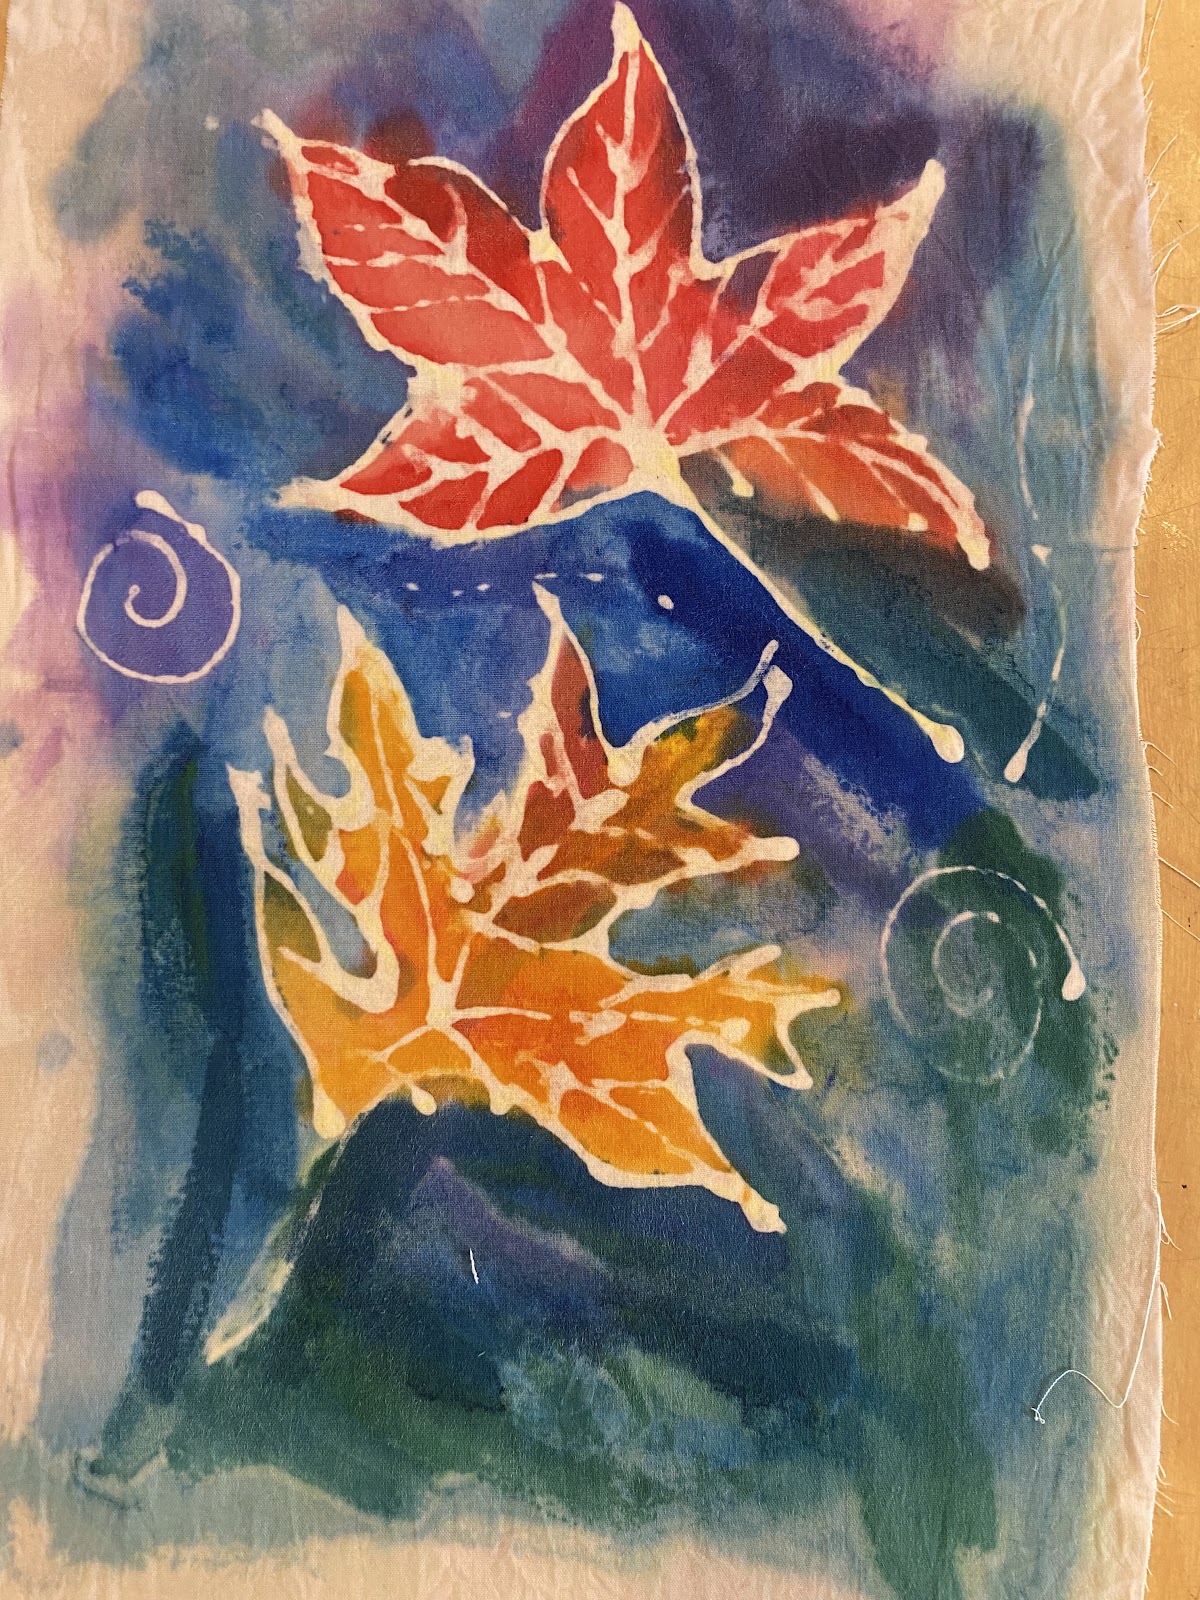
5. I talked to the kids about painting the leaves in warm, fall-like colors (we observed the leaves once more, this time paying attention to their colors more to their shapes), and the background in cool colors. I always give suggestions but never force the kids to do it the same way I did. I let the kids choose and if they have other ideas in mind (like painting their favorite Minecraft character, for instance), they alway get a go from me, as they are the ultimate artists here.
After the paint is all dry (overnight) I wash the fabrics by hand in hot water and lay them flat to dry.
The kids and I both collected brunches (I collected mine during a hike in the woods) to serve as hangers for their banners.
I hot glued the banners to the sticks, tied a hemp rope and...walla!
No comments:
Post a Comment